Table of Contents
What is a Wine Cellar?
A wine cellar is a room designed to store wine over an extended period. That’s its sole purpose. You place a bottle in the room, and ten years later, you have a beautifully aged wine.
It’s not a place to entertain friends or even taste wine. It’s a one-function room. If you want a space to celebrate your love of wine, you need a wine-themed playground for adults. That’s cool, but it’s not a cellar.
The room must control four variables that can affect the longevity of a bottle of wine:
- Temperature
- Vibration
- Light
- Humidity
The first three are forms of energy that can negatively impact your wine storage. The final variable affects the wine’s cork and label. A well-built cellar addresses all four issues.

The Wine Cellar Essentials
Temperature is the most critical aspect of wine storage, and it is also the easiest to manage. For long-term storage, temperatures must be between 54 and 59 degrees Fahrenheit, with no more than a 2-degree variation in 24 hours. If you plan on storing wine for no more than three years, a temperature below 75 degrees is acceptable.
Humidity
Humidity is harder to regulate as it varies regionally and seasonally. The ideal humidity level is 70%, but a range of 50-75% is acceptable. Below 50%, corks start to dry out within four years; above 75%, mold becomes a significant issue on wine labels.
Vibration
Vibration is a frequently ignored problem that can harm wine over time. Vibration is a form of energy that quickly passes through wine. It can come from a heavily trafficked hallway or even trucks passing on a nearby road. The vibration needs to be canceled out.
Light
Sunlight and artificial light emit heat and ultraviolet radiation, which can destroy wine. Lighting sources must be designed to minimize impact. LED lights are the only way to go. I recommend using motion-activated lights.

Do You Need a Wine Cellar?
If you aren’t planning to lay down wine for a long time, don’t worry about building a wine cellar. As long as you aren’t abusing your wine, it will keep for a few years without being cellared. You don’t have to store your wine on its side; the cork won’t start drying out for a few years.
Wine Storage in a Closet
If you want to keep wine for a few years, empty a closet and store your cases there. It’s not glamorous, but it’s cheap and does the trick.
Your main goal is to keep your wines from getting too hot. The magic number for short-term wine storage is 75 degrees. At that temperature, the wine will degrade faster. A wine that would last ten years won’t last one.
If it’s over 80 degrees, the wine must be consumed within a week. If it’s 90 degrees, you might as well start googling for a good sangria recipe.
Wine Cellar Ideas
Building a wine cellar doesn’t have to be expensive. The original Wine School cellar was in the basement of my apartment building. We didn’t keep wines around longer than a few months, so being stored at 70 degrees didn’t matter. After all, that’s pretty much the temperature it’s stored in at a wine shop.
We needed a more extensive cellar when the school moved to Fairmount Avenue. Unfortunately, I didn’t have much money, so I built the cellar using materials liberated from a nearby construction site. It was the craziest-looking wine cellar in history, but it did the job.
When we moved to Rittenhouse, I developed a 4000-bottle storage facility that didn’t break the bank. Since then, I’ve built three more wine cellars and consulted on dozens more.
Custom Wine Cellar on the Cheap
The first rule of cheap wine storage is to stop googling wine cellar pictures. It will just make you upset, so stop!
You won’t be ordering custom hardwood wine racks, and Mongolian monks won’t carve your cellar door from a millennia-old cypress tree. Nope. Home Depot and Amazon Prime are your new best friends.
Your new cellar will not earn a spot in Architectural Digest (although one of my students’ wine cellars was featured in the Wine Spectator). Hopefully, our room will resemble a janitorial closet at the local high school.
And that’s a very, very good thing.
How to Build a Wine Cellar
Although retrofitting an existing room is possible, building a new space is often the best option. The most cost-effective way of making a wine cellar is by doing it yourself. If you can hang drywall, you can build a wine storage room. If not, you have to hire a contractor. The trick is not to tell them it will be a wine cellar. If you do, the price will go up—not because it takes specialized skills, but because they’ll assume you are filthy rich.
Hire the contractor for the hard stuff, and finish off the easy stuff—like painting—yourself. The best time to bring in a contractor is when you need other work done to get the best price. They will give you a much better price if several jobs are done. If you are re-doing your kitchen, they may even throw in the weird little room you want built in the basement for free.

Beautiful Isn’t Always Better
Wine Cellar Designs
How extensive a cellar do you need? You can hold 1,000 bottles in a 5ft (W) x 10ft (L) x 7ft (H) wine cellar, which is about 350 cubic feet of interior. Of course, the smaller the footprint, the more efficient the wine cellar!
Plans
Smaller is always better. You want a cellar with minimal open space: floor-to-ceiling wine storage and a narrow walkway. Designing wine storage is all about the cubic feet of space you’ll have to keep cool. An empty cellar—even a perfectly built one—will jump up 3 degrees in temperature as soon as someone walks in and will continue to rise.
If a quarter of the cellar space is full of wine, the increase is negligible—about .05 degrees in five minutes. Fluid is an excellent insulator, so it’s essential to keep the cellar filled. When you start planning your cellar, have a reasonable idea of how many bottles you will want to store. Build your cellar plan around that number.
Cellar Doors
The place to start designing a wine cellar is with the door. Unfortunately, it’s the weakest link in the cellar. Most people install a fancy wood or glass door. They look fantastic but are terrible ideas for a functional wine cellar.
A wine cellar door needs insulation and security. That is why I use pre-hung steel doors for my wine cellars. These are the same doors a contractor would use when installing a front door on a house. You can pick one up for a few hundred dollars at your local Home Depot.
Cooling Units
This is the challenging part. Cooling units are expensive, and they will be the one thing that will fail.
The Classic Wine Cooling Unit
The best way is to vent cold air into the wine cellar via ductwork. Unfortunately, systems like this are expensive. Most sommeliers claim the gold standard system is the WhisperKOOL Extreme 5000tiR. However, with installation, this can cost upwards of $7K.
My Recommended Wine Cooling Unit
My preferred unit is the CellarPro 4200VSi with a VC Duct Kit upgrade. I install the entire unit inside the wine cellar, hanging from the ceiling, with ductwork through the wall in two places. The first pulls filtered air from just outside the wine cellar. I run the other ductwork as far away as possible—another room or even outside—to exhaust the hot air. This system costs about $4K to install and is superior to the WhisperKOOL.
Make it Efficient
No matter what you do, always buy a cooling unit larger than you need by at least 20%. This will increase efficiency, lowering the long-term costs of storing wine.
The Cheap Way to Keep Your Wine Cool
If you want to go the cheap route, you can use a through-the-wall air conditioner. However, you’ll need a powerful model (over 15,000 BTU) with a remote thermostat. I built it for a friend; I used the Frigidaire FRA156MT1, which cost around $600.
Install the AC unit 4 feet above the floor and vent into a room that is at least three times the size of the wine cellar. To ensure it will keep your cellar at 55 degrees, place the remote outside the wine cellar. Since the remote will always show a higher temperature, the AC will continue to cycle.
There is always a chance of losing humidity. Because of that, installing a humidity sensor or at least leaving a bucket of water in the cellar is vital.
Wine Cellar Racks
This is where my no-nonsense approach to wine cellars changes how you design a wine cellar. I do not use traditional wine racks. The ones you buy on Amazon or at Ikea will most likely be made of pine, which will start to rot in the humid environment of the wine cellar.
Wood wine racks must be built out of mahogany or redwood, which is expensive. Over time, they will start to rot, which may take over a decade.

Storvino
My preferred storage uses storvino, an extensible plastic extruded wine racks system. They are efficient, easy to assemble, and easy to reconfigure. I think of them as LEGOS for winos.
They are also great to transport wine with: when you attend a wine class, you should notice the black boxes we carry wine in: those are storvino racks.
For a 1,200-bottle cellar, you can expect to spend about $4K for your storvino shelving if you purchase them online. That is a lot of cash, but let’s put that into perspective: retail redwood shelving will cost about the same. However, to be as efficient space-wise as storvino, you must purchase custom-sized shelving, which will cost upwards of $5K for 1,200-bottle shelving.
Bottom line: If you want an extensible wine cellar that puts function over beauty, then storvino is an excellent option.
Wine Cellar Floors
The cellar floor should accomplish three things: insulate, retain humidity, and protect falling bottles. No matter what the surface of the cellar is, it should be coated with a non-porous sealer. When designing a wine cellar in a basement, I use three coats of epoxy sealer over the cement floor. Use the kind designated for garage floors: it will last a lifetime.
I then lay down rubber mats, the kind used in restaurant kitchens. Let’s be honest: you are as much of a clumsy drunk as I am. You are going to drop a few bottles.
Walls and Vapor Barriers
The walls are built like any other interior partition. They are made with 2X4 lumber and faced with 1/2″ gypsum board on each side. The walls are 4 1/2 inches deep. You have to make a few adjustments. Insulation is essential. R-1 fiberglass insulation is best, as it will also absorb most vibration.
Before hanging the interior gypsum board, line the lumber with six-millimeter plastic sheeting. This is your vapor barrier, which is critical to the success of a wine cellar. It retains the humidity in the cellar, prevents the insulation from rotting, and helps keep the wine cellar pressurized.
Along with the walls, it’s also a good idea to do the same for the ceiling. Another smart upgrade is to use a green board in the interior. It’s designed for wet spaces. I also use a vapor barrier primer in the interior; Benjamin Moore has a perfect latex-based one.
The Wine School’s Cellars Through The Ages
The Italian section of the Wine School Cellar in 2021
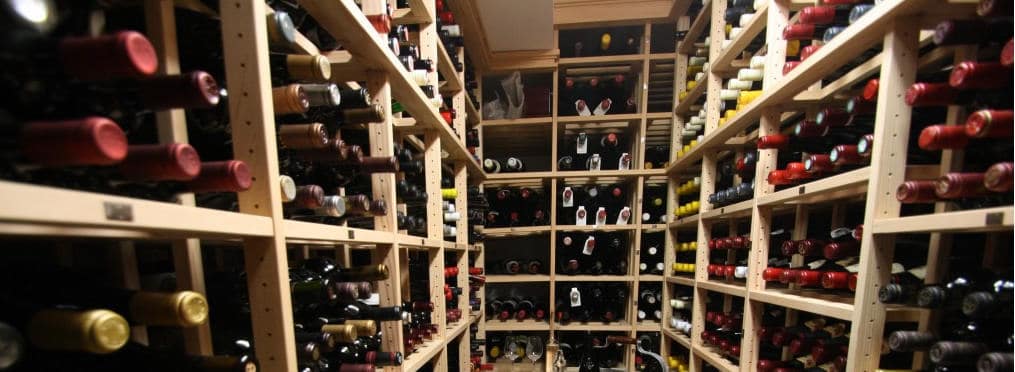
Our current wine cellar is a series of narrow pathways with floor-to-ceiling wine. Motion sensors turn on LED lights as you move through the facility. Its industrial look wasn’t intentional; it’s the byproduct of being a highly efficient wine storage space.

Our Upgraded Wine Cellar, circa 2007
Our second wine cellar was a traditional affair. We ordered our wine racks through a specialty wine company. I loved the design: the narrow spacing of the racks was very efficient and easily organized. However, the wood racks posed a problem. After eight years, the racks started to show cracks near the joints.

The BEAST: Our very first wine cellar, circa 2002. Ugly AF, but IT WORKED
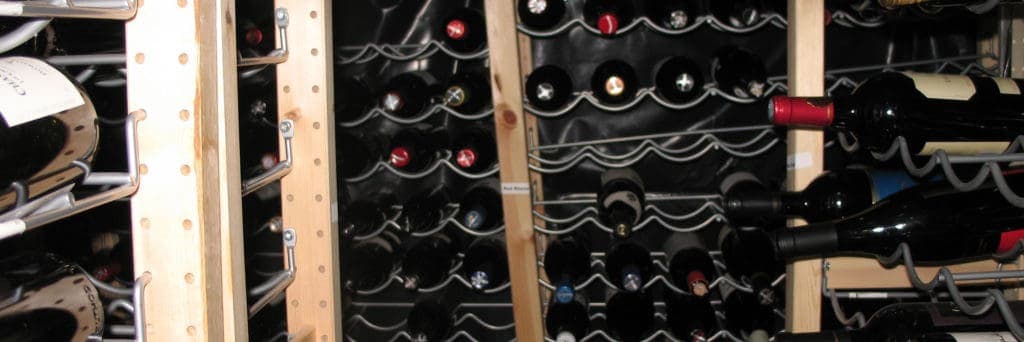
Our very first wine cellar was the ugliest thing you have ever seen. This is the only photo in existence. This cellar was built in 2002 when the school was very young and had no funds to build a wine cellar. The room was built using leftover lumber from a nearby construction site, and the wine racks were from IKEA.
While ugly, it held temperature very well and taught two valuable lessons: wine cellars should be efficient and unassuming.

